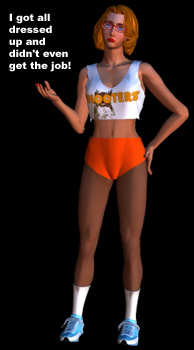
To download this outfit (.zip file of .jpg files),
PC users: right-click and choose "Save Target As..", Mac users: hold down the mouse button and choose "Save Target As..".
A little while ago, Sheri tried to apply for a job at the local Hooters Restaurant. She got all dressed up (see picture), but her application was rejected- they claimed she couldn't be a waitress since she wasn't a real person! I think it's a case of discrimination against "reality-challenged" people, but that's another story. (Before anyone actually hires an attorney to take the case, I am only joking- Sheri never filled out an application!)

How did I create this outfit? Here is the tutorial. (Note: be sure you are familiar with the concept of transparency maps before continuing.)
|
Poser 6 users: Please note that, by default, Poser 6 stores the items in a compressed format: The obj files are saved as compressed "obz" format. Unfortunatrly, UV Mapper can not read obz files.
The workaround is to add the clothing figures to the scene and export them as obj files. To do this, simply add the figure to the scene and, with the figure selected, go to File > Export > Wavefront obj file. Since we're only using this obj file to create a map, you can save the file wherever you like and with whatever name you like. When Poser asks which options you would like, you can leave the boxes checked or unchecked- again, since we're only using this to create a map, we don't need the additional information. Once you've exported the T-Shirt, Biker Shorts, and Unitard, you can go back to step 2, create a template, and continue with the tutorial. |
 |
 |
| T-Shirt texture map | T-Shirt transparency map |

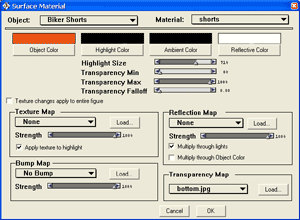
Material settings for the Biker Shorts. |
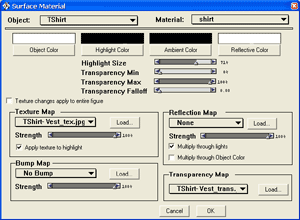
Material settings for the T-Shirt. |
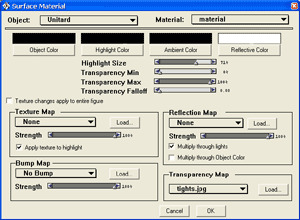
Material settings for the Unitard. |
|
Now who wants to make a Hooters™ restaurant so we can put these characters to work? After all, us Poser designers have to make money some how- let's have our models get a job!
